Lewati tautan

How do you hook up golf cart batteries

Reliability of the battery system is paramount for businesses managing electric golf cart fleets. Correctly hooking up golf cart batteries is essential for optimal performance, maximizing battery lifespan, and ensuring safety. This concise guide provides B2B technical staff with the critical steps and considerations, including specifics for modern lithium battery systems.

Why Proper Battery Connection Matters

Incorrect battery connections cause golf cart issues, including power loss, reduced range, premature battery failure, damaged components, and dangerous electrical hazards. Mastering correct connections protects your assets and personnel.

Essential Safety Protocols (MUST Read First)

Working with batteries is inherently risky. Electrical shock, chemical burns (lead-acid), and explosion hazards are real. Prioritizing safety is non-negotiable.

  • Mandatory Safety Gear: Always wear safety glasses, a face shield, and chemical-resistant gloves. Use insulated tools when possible, and avoid tool bridging terminals.
  • Disconnect Power: Set the golf cart’s Tow/Run switch to “Tow.” Crucially, disconnect the main negative battery cable from the bank FIRST. This breaks the circuit, significantly reducing spark risk.
  • Safe Environment: Work in a well-ventilated area free from sparks, flames, or ignition sources.

System Basics: Voltage & Configuration

Understand your cart’s system voltage and how batteries are arranged.

  • Common Voltages: 36V and 48V are standard.
  • Series Connection: This increases the voltage. Connect the negative (-) terminal of one battery to the positive (+) terminal of the next. Voltages add up (e.g., six 6V batteries in series = 36V).
  • Parallel Connection: This increases capacity (Ah). Connect positive to positive and negative to negative. Voltage remains the same. It is less common for central golf cart drive banks.

Concise Battery Connection Steps

Follow these steps after ensuring safety precautions are in place and tools are ready.

  1. Place Batteries: Position batteries correctly and securely in the tray.
  2. Clean Terminals: Clean terminals thoroughly. Use a brush for lead-acid corrosion; a simple wipe is usually enough for Lithium. Clean metal is key.
  3. Connect Series Cables: Connect negative-to-positive following your diagram. Hand-tighten initially.
  4. Connect Parallel Cables (If applicable): Connect positive-to-positive and negative-to-negative.
  5. Connect Main Cables: Attach the golf cart’s main positive cable. Connect the main negative cable LAST.
  6. Torque Connections: Use a torque wrench on every connection. Tighten exactly to the manufacturer’s specified torque value. Loose connections cause heat and failure; overtightening damages terminals. [Note: Consult battery or terminal manufacturer for specific torque values. A table showing standard torque specs for different terminal sizes would be valuable here].
  7. Apply Anti-Corrosion (Lead-Acid only): Apply a protective compound to lead-acid terminals after torquing. Not needed for Lithium.
  8. Visual Inspection: Double-check all connections are correct and secure.

Wiring Diagrams are Your Map

Never guess the wiring path. Always use a diagram.

  • A series wiring diagram shows the layout and the negative-to-positive connection sequence, indicating the final main positive and negative terminals.
  • [36V Series Wiring Diagram Placeholder]: This diagram will illustrate the layout and series connections for six 6V batteries.
  • [48V Series Wiring Diagram Placeholder]: This diagram would illustrate the layout and series connections for four 12V or six 8V batteries.
  • Crucial: Use the exact diagram for your cart model and battery configuration.


Discover Advanced Lithium Battery Solutions

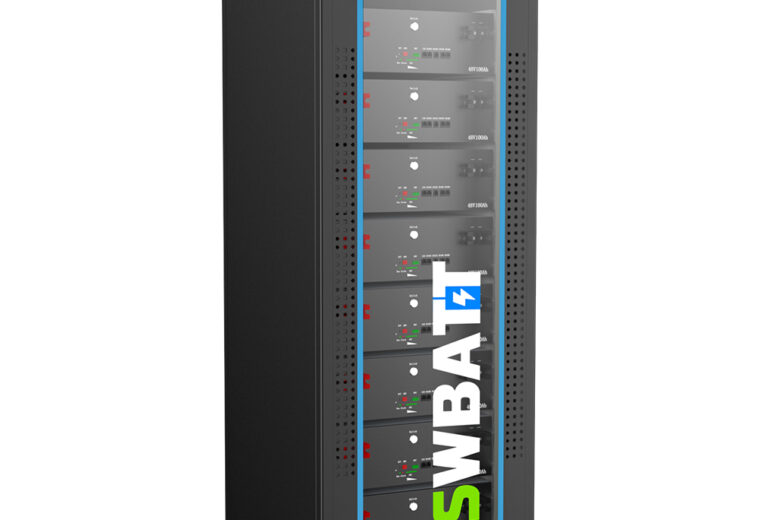
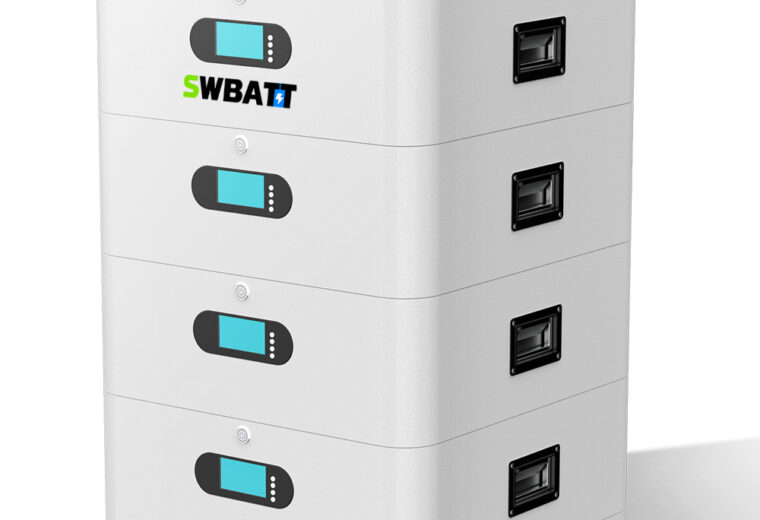
 Partner with SWBATT and experience innovative LiFePO4 battery solutions. We provide high-performance batteries for low-speed electric vehicle, energy storage systems, and diverse applications, helping you optimize energy usage and enhance system efficiency. Get cost-effective and sustainable customized solutions that inject strong momentum into your long-term development.

Connecting Lithium Golf Cart Batteries: Unique Aspects

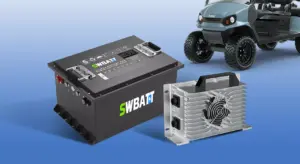
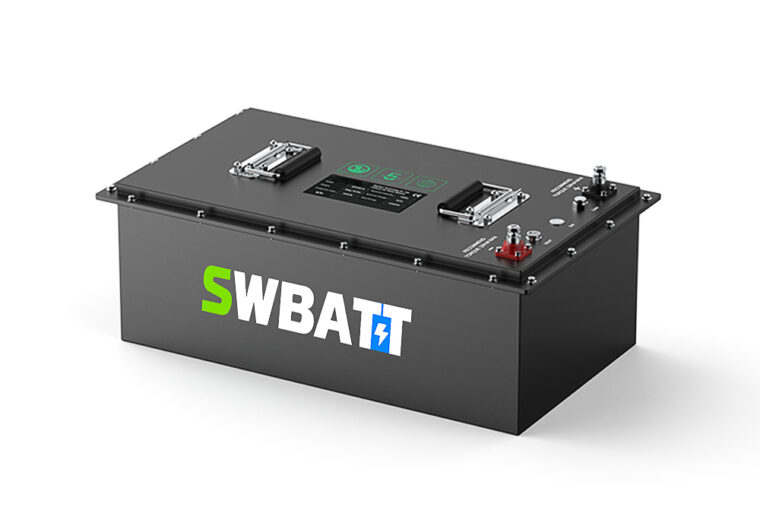
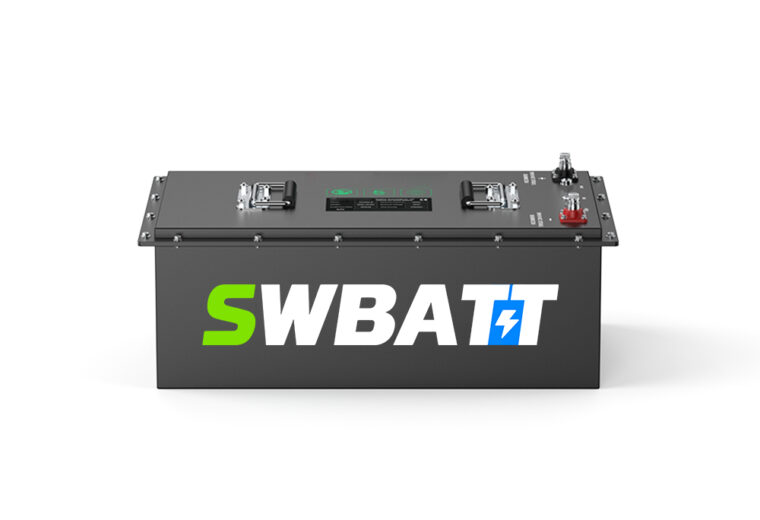
Lithium (LiFePO4) batteries often simplify installation but have specific requirements.

  • Often Simpler Power Wiring: Many lithium solutions replace a full lead-acid bank with a single unit, requiring only the main positive and negative cable connections from the cart to the battery pack.
  • BMS Connection: Lithium systems have a Battery Management System (BMS). If using multiple modules or an external BMS, specific, often smaller gauge, BMS wires/harnesses must be connected exactly as per the lithium manual. [An illustration showing a typical BMS harness connection point on a lithium battery/system is helpful.
  • Terminal Types: Lithium batteries may use different terminal types (e.g., threaded M8/M10 posts). Ensure cable terminals are compatible.
  • Activation: Some lithium batteries require an activation step (e.g., connecting charger, specific switch) to wake up after installation. Consult the manual.
  • Charger Compatibility: Lithium requires a lithium-compatible charger.

Quality Checks: Cables & Torque

Connection quality directly impacts performance and safety.

  • Cable Gauge: Cables must be thick enough (low gauge number) for the current load to prevent voltage drop and dangerous overheating. Consult manufacturer specs. [Consider including a table showing recommended cable gauge ranges vs. typical golf cart amperage for 36V/48V systems].
  • Condition: Inspect and replace worn or damaged cables and terminals.
  • Torque: Reiterate using a torque wrench for every connection.

Post-Connection Verification

After connecting, verify everything before operating.

  • Visual Check: Final look over all connections and routing.
  • Voltmeter Check: Measure the total voltage across the battery bank (main terminals). Confirm it’s correct (e.g., ~38V for 36V LA, ~48V nominal for 48V Lithium).
  • Activate System: Reconnect the main negative (LA) or perform lithium activation.
  • Function Test: Briefly test cart movement and accessories.
  • Heat Check: Cautiously check terminals/cables for excessive heat after a brief run, which indicates a poor connection.

Avoiding Common Connection Errors

Preventing these issues saves time and avoids damage.

  • Incorrect Polarity: Catastrophic failure risk. ALWAYS double-check diagrams.
  • Loose/Overtight Torque: Performance issues, damage, heat. ALWAYS use a torque wrench to spec.
  • Undersized Cables: Hazard. Match gauge to load.
  • Skipping Safety: High injury risk. NEVER.
  • Lithium BMS/Activation: The system won’t work. Follow the lithium manual precisely.

Conclusion

Proper golf cart battery connection is vital for safety, performance, and longevity. By following these steps, prioritizing safety, using correct tools and quality components, and understanding lithium-specifics, B2B professionals ensure reliable fleet operation.

Frequently Asked Questions (FAQs)

Q1: Can I mix old and new batteries in a series bank? A: No. For lead-acid banks, always replace the entire set. Mixing damages batteries and reduces performance. This is less relevant for single lithium packs.

Q2: What battery cable gauge do I need? A: It depends on voltage and motor current. Consult your manufacturer. Thicker cables (lower gauge number) handle higher currents safely and reduce voltage drop.

Q3: Is connecting lithium batteries complicated? A: Power connections are often simpler (single pack). However, you must follow the manufacturer’s specific instructions for BMS wiring (if applicable) and activation steps, which differ from lead-acid.

Solusi energi terbaik
untuk baterai lithium

Jika Anda memiliki pertanyaan, silakan isi formulir dan salah satu manajer produk profesional kami akan menghubungi Anda dalam waktu 24 jam, terima kasih banyak.

hubungi kami sekarang
+86-075585274971

Isi formulir
untuk menghubungi kami dengan mudah