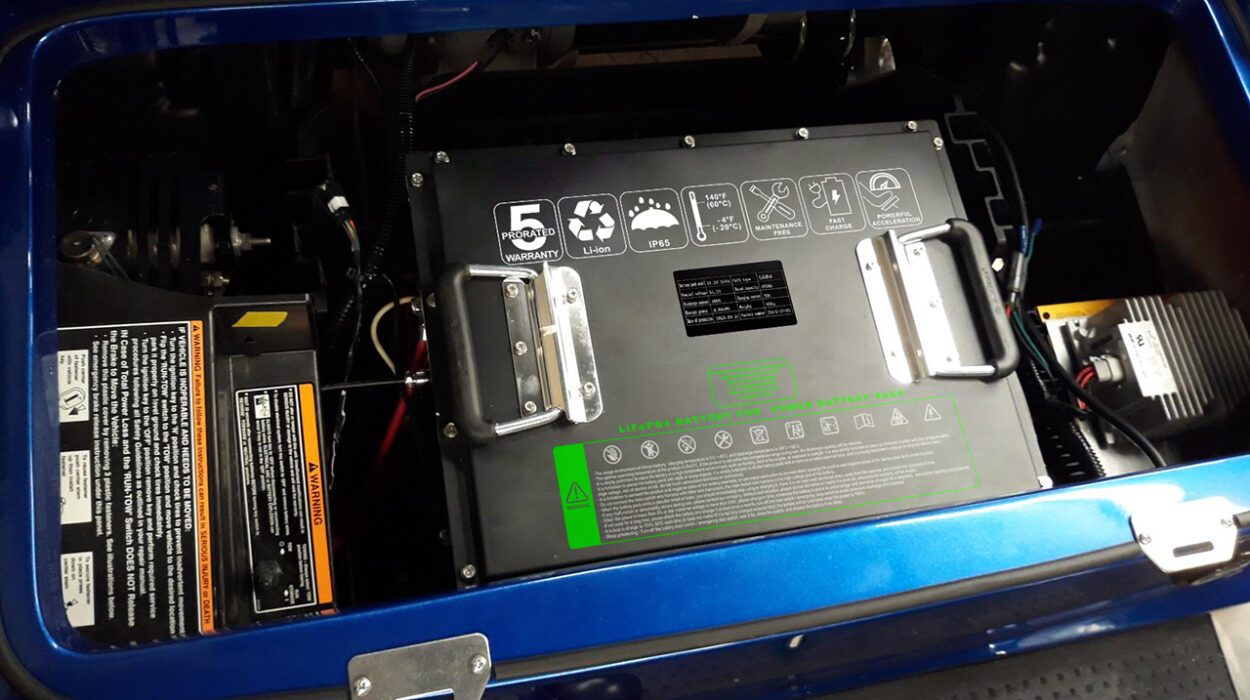
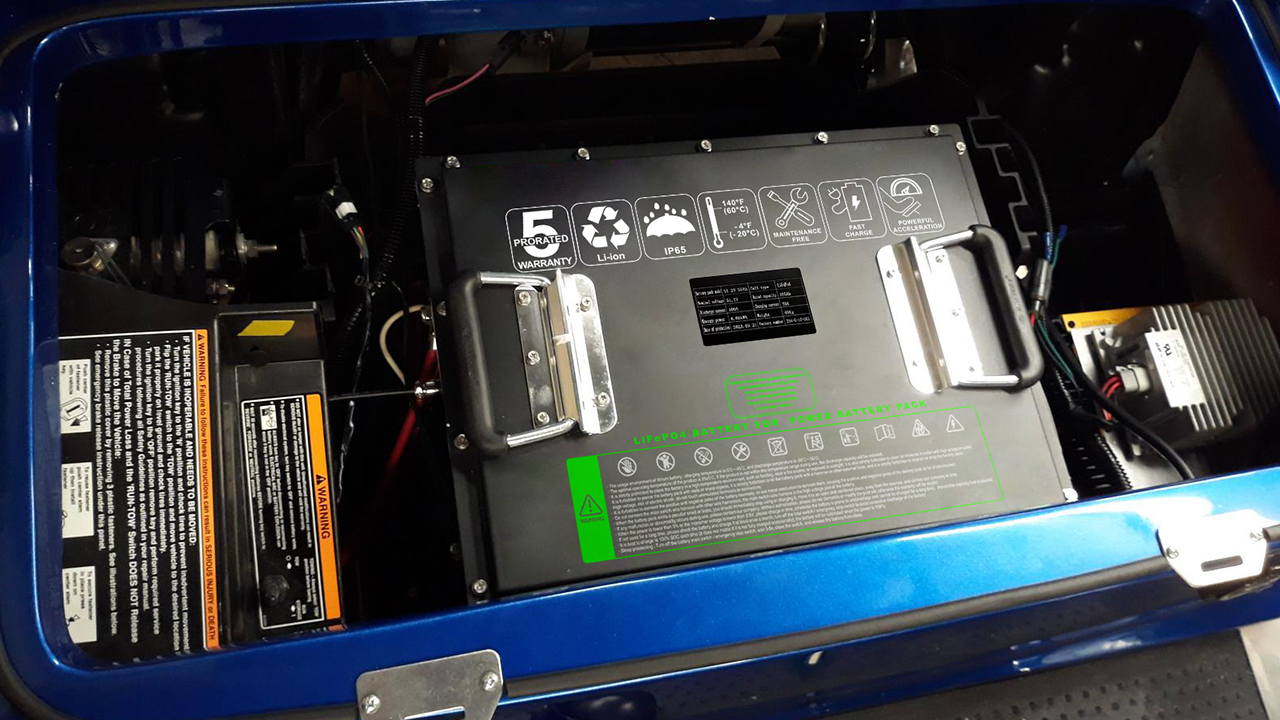
Switching to lithium batteries for your golf cart offers numerous advantages, including longer lifespan, lighter weight, and better overall performance. This step-by-step guide will walk you through the process of installing a lithium battery, specifically designed for golf carts, while providing essential data and insights that will help your business make a smart investment in energy solutions.
Why Choose a Lithium Battery for Your Golf Cart?
Table of Contents
ToggleChoosing lithium over traditional lead-acid batteries can revolutionize the performance of your golf cart. Here’s why:
- Extended Lifespan: Lithium batteries last 2,000 to 4,000 cycles, far exceeding the 500-1,000 cycle lifespan of lead-acid batteries.
- Faster Charging: Lithium batteries charge in 2-3 hours, compared to the 6-8 hours needed for lead-acid batteries.
- Lower Maintenance: Lithium batteries require zero maintenance, saving time and costs associated with checking water levels or cleaning terminals.
- Lightweight: Lithium batteries are 50% lighter than lead-acid batteries, reducing the overall weight of your golf cart and improving fuel efficiency.
As a B2B lithium battery supplier, SWBATT understands the need for reliable, long-lasting power solutions. Our lithium battery packs, specifically designed for golf carts, provide you with energy-efficient, low-maintenance power for years of use.
Essential Tools and Materials for Installing Lithium Batteries in Golf Carts
Before you begin the installation process, ensure you have the following tools and materials:
- Wrenches and screwdrivers: These are used to remove and secure connections.
- Insulated gloves: For electrical safety.
- Multimeter: To measure voltage and ensure everything is working properly.
- Lithium-compatible charger: To properly charge your new battery.
- Battery Management System (BMS): If not integrated into the battery pack.
Step-by-Step Guide to Installing a Lithium Battery on Your Golf Cart
Step 1: Power Off the Golf Cart
For your safety, start by turning off the ignition and disconnecting the power supply to the cart. This eliminates any risk of electrical short circuits during the installation process.
Step 2: Remove the Old Lead-Acid Batteries
Carefully disconnect the cables from the old lead-acid battery, starting with the negative terminal to minimize the risk of sparking. Remove the old batteries—these typically weigh around 60-80 lbs each, so exercise caution when lifting.
Step 3: Clean the Battery Compartment
Ensure the battery compartment is clean and free from any corrosion or debris. Use a wire brush and a mixture of water and baking soda to clean any acid residue from the lead-acid batteries.
Step 4: Install the New Lithium Battery
Position the lithium battery in the battery compartment. Lithium batteries for golf carts typically use a 51.2V system (16 cells of 3.2V each), which is slightly higher than the traditional 48V lead-acid battery system. Ensure the battery is securely placed and use brackets or spacers as necessary.
Step 5: Connect the Battery
Connect the positive terminal first, followed by the negative terminal. Tighten all connections securely to prevent them from coming loose. Use a multimeter to check the voltage and confirm it matches your golf cart’s system specifications.
Step 6: Install the Battery Management System (BMS)
Some lithium batteries come with a Battery Management System (BMS) pre-installed, which helps protect against overcharging, over-discharging, and overheating. If your battery does not include a BMS, be sure to install one for added protection.
Step 7: Test the Installation
Reconnect the golf cart’s electrical system and turn the ignition on. Perform a test drive under light usage to ensure everything is functioning correctly.

Common Challenges and Solutions for Lithium Battery Installation in Golf Carts
Voltage Compatibility
Before installing a lithium battery, ensure that your golf cart is compatible with a 51.2V system. Most golf carts designed for 48V lead-acid batteries can easily accommodate a 51.2V lithium battery, but it’s important to verify with the manufacturer to ensure compatibility.
Charger Compatibility
Since lithium batteries charge differently from lead-acid batteries, always use a lithium-compatible charger. Using an incorrect charger can cause the battery to overcharge or undercharge, potentially damaging the battery and shortening its lifespan.
Space and Fit
If the compartment seems larger than your new lithium battery, use spacers or brackets to secure it in place. While lithium batteries are generally smaller and lighter than lead-acid batteries, they still need to be securely installed to prevent shifting during use.
Maintenance and Care for Your Golf Cart's Lithium Battery
To ensure the long-term performance of your lithium battery, follow these maintenance tips:
- Charge Regularly: Keep the battery between 40-80% charged for optimal performance. Avoid leaving the battery fully charged or fully discharged for long periods.
- Avoid Extreme Temperatures: Keep the battery at room temperature when possible. Excessive heat or cold can reduce the battery’s performance and lifespan.
- BMS Monitoring: Regularly check the Battery Management System (BMS) for any alerts regarding battery health or performance.
A lithium battery for your golf cart lasts longer and needs less maintenance. As a trusted SWBATT supplier, we provide high-performance lithium batteries for golf carts.Contact SWBATT today to learn more about our lithium batteries and how we can help you save money and keep your customers happy!


